The Rental Inspection Checklist Landlords Actually Use (With Photo Rules)
Move-in, routine and move-out inspections share one checklist and one set of photo rules. Here is both, and how to keep the results where a dispute can find them.

Inspection checklists are easy to find and easy to abandon. The ones that survive are short, the same every time, and produce a record that can be compared with the last one. This is the version our landlord customers keep coming back to, plus the photo rules that make it worth doing.
Before you go
- Give the tenant the notice your jurisdiction requires — typically 24 to 48 hours in writing.
- Open the previous inspection so you know what to compare against.
- Charge the phone. The inspection is the photos.
The room-by-room checklist
For every room: walls and ceiling, floor and coverings, windows and locks, doors and handles, lights and switches, sockets, radiators or vents, and any furniture listed in the inventory. Then the specifics:
- Kitchen — appliances working, seals, extractor, under-sink for leaks, cupboard interiors.
- Bathroom — silicone and grout, extractor, signs of mould, toilet cistern, shower screen.
- Bedrooms and living areas — condensation on windows, carpet condition, marks on walls.
- Safety — smoke and CO alarms tested and dated, fire doors closing, extinguisher/blanket where required.
- Exterior — gutters, drains, gate, bins, garden, any outbuildings.
- Meters — readings photographed.
The photo rules
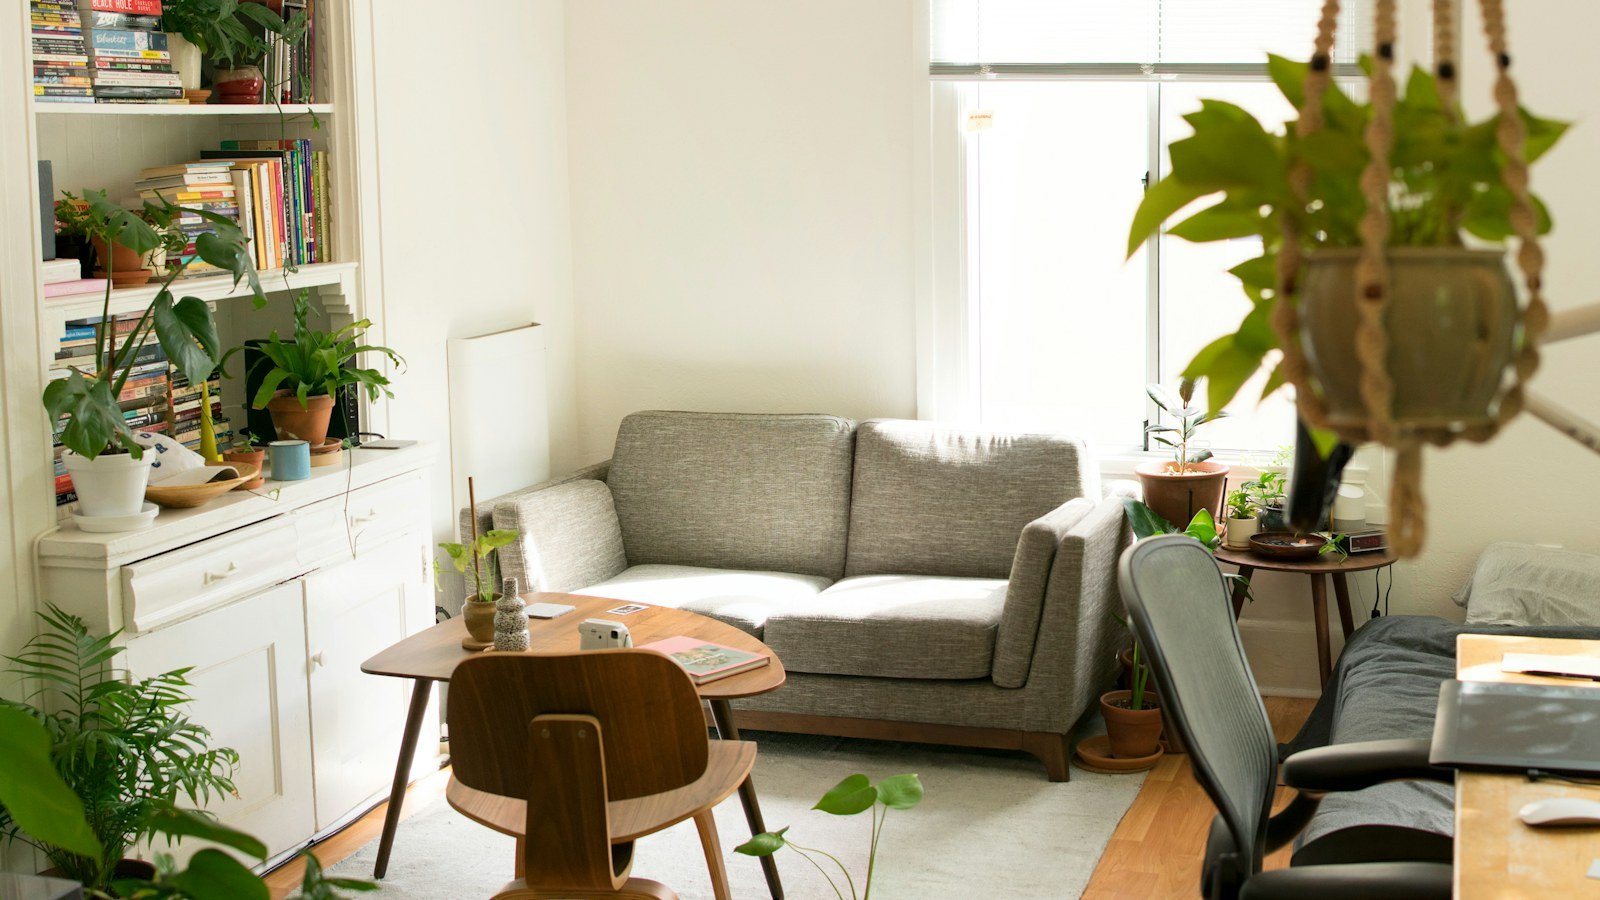
- Same rooms, same angles, every time. Stand in the doorway; shoot the room; then details. Before-and-after only works if the framing matches.
- Wide shot first, then close-ups. A close-up of a stain means nothing without a wide shot placing it in the room.
- Include something that dates the photo when it matters — the meter, a newspaper, the tenant's acknowledgement.
- Upload before leaving the property. Into the tenancy record, not a camera roll. The upload timestamp is your date; a photo dated by the phone's clock is not.
- Never edit. No filters, no cropping. If you need a marked-up version, make it separately and keep the original.
Recording the result
One dated inspection entry per visit: who attended, what was found, actions arising (repair, tenant to address, monitor). Attach the photos to that entry. Anything that needs fixing becomes a task with a due date so it is not rediscovered at the next inspection.
Why this matters at the end
A move-out inspection compared against a move-in report with matching photos is the single most decisive piece of evidence in a deposit dispute — see what evidence you need to win one. Routine inspections between them show that the property was looked after and problems were raised in time. And for a portfolio, the pattern across inspections is what tells you which unit is quietly becoming a problem — the tenancy calendar in the landlord's year keeps them on schedule.